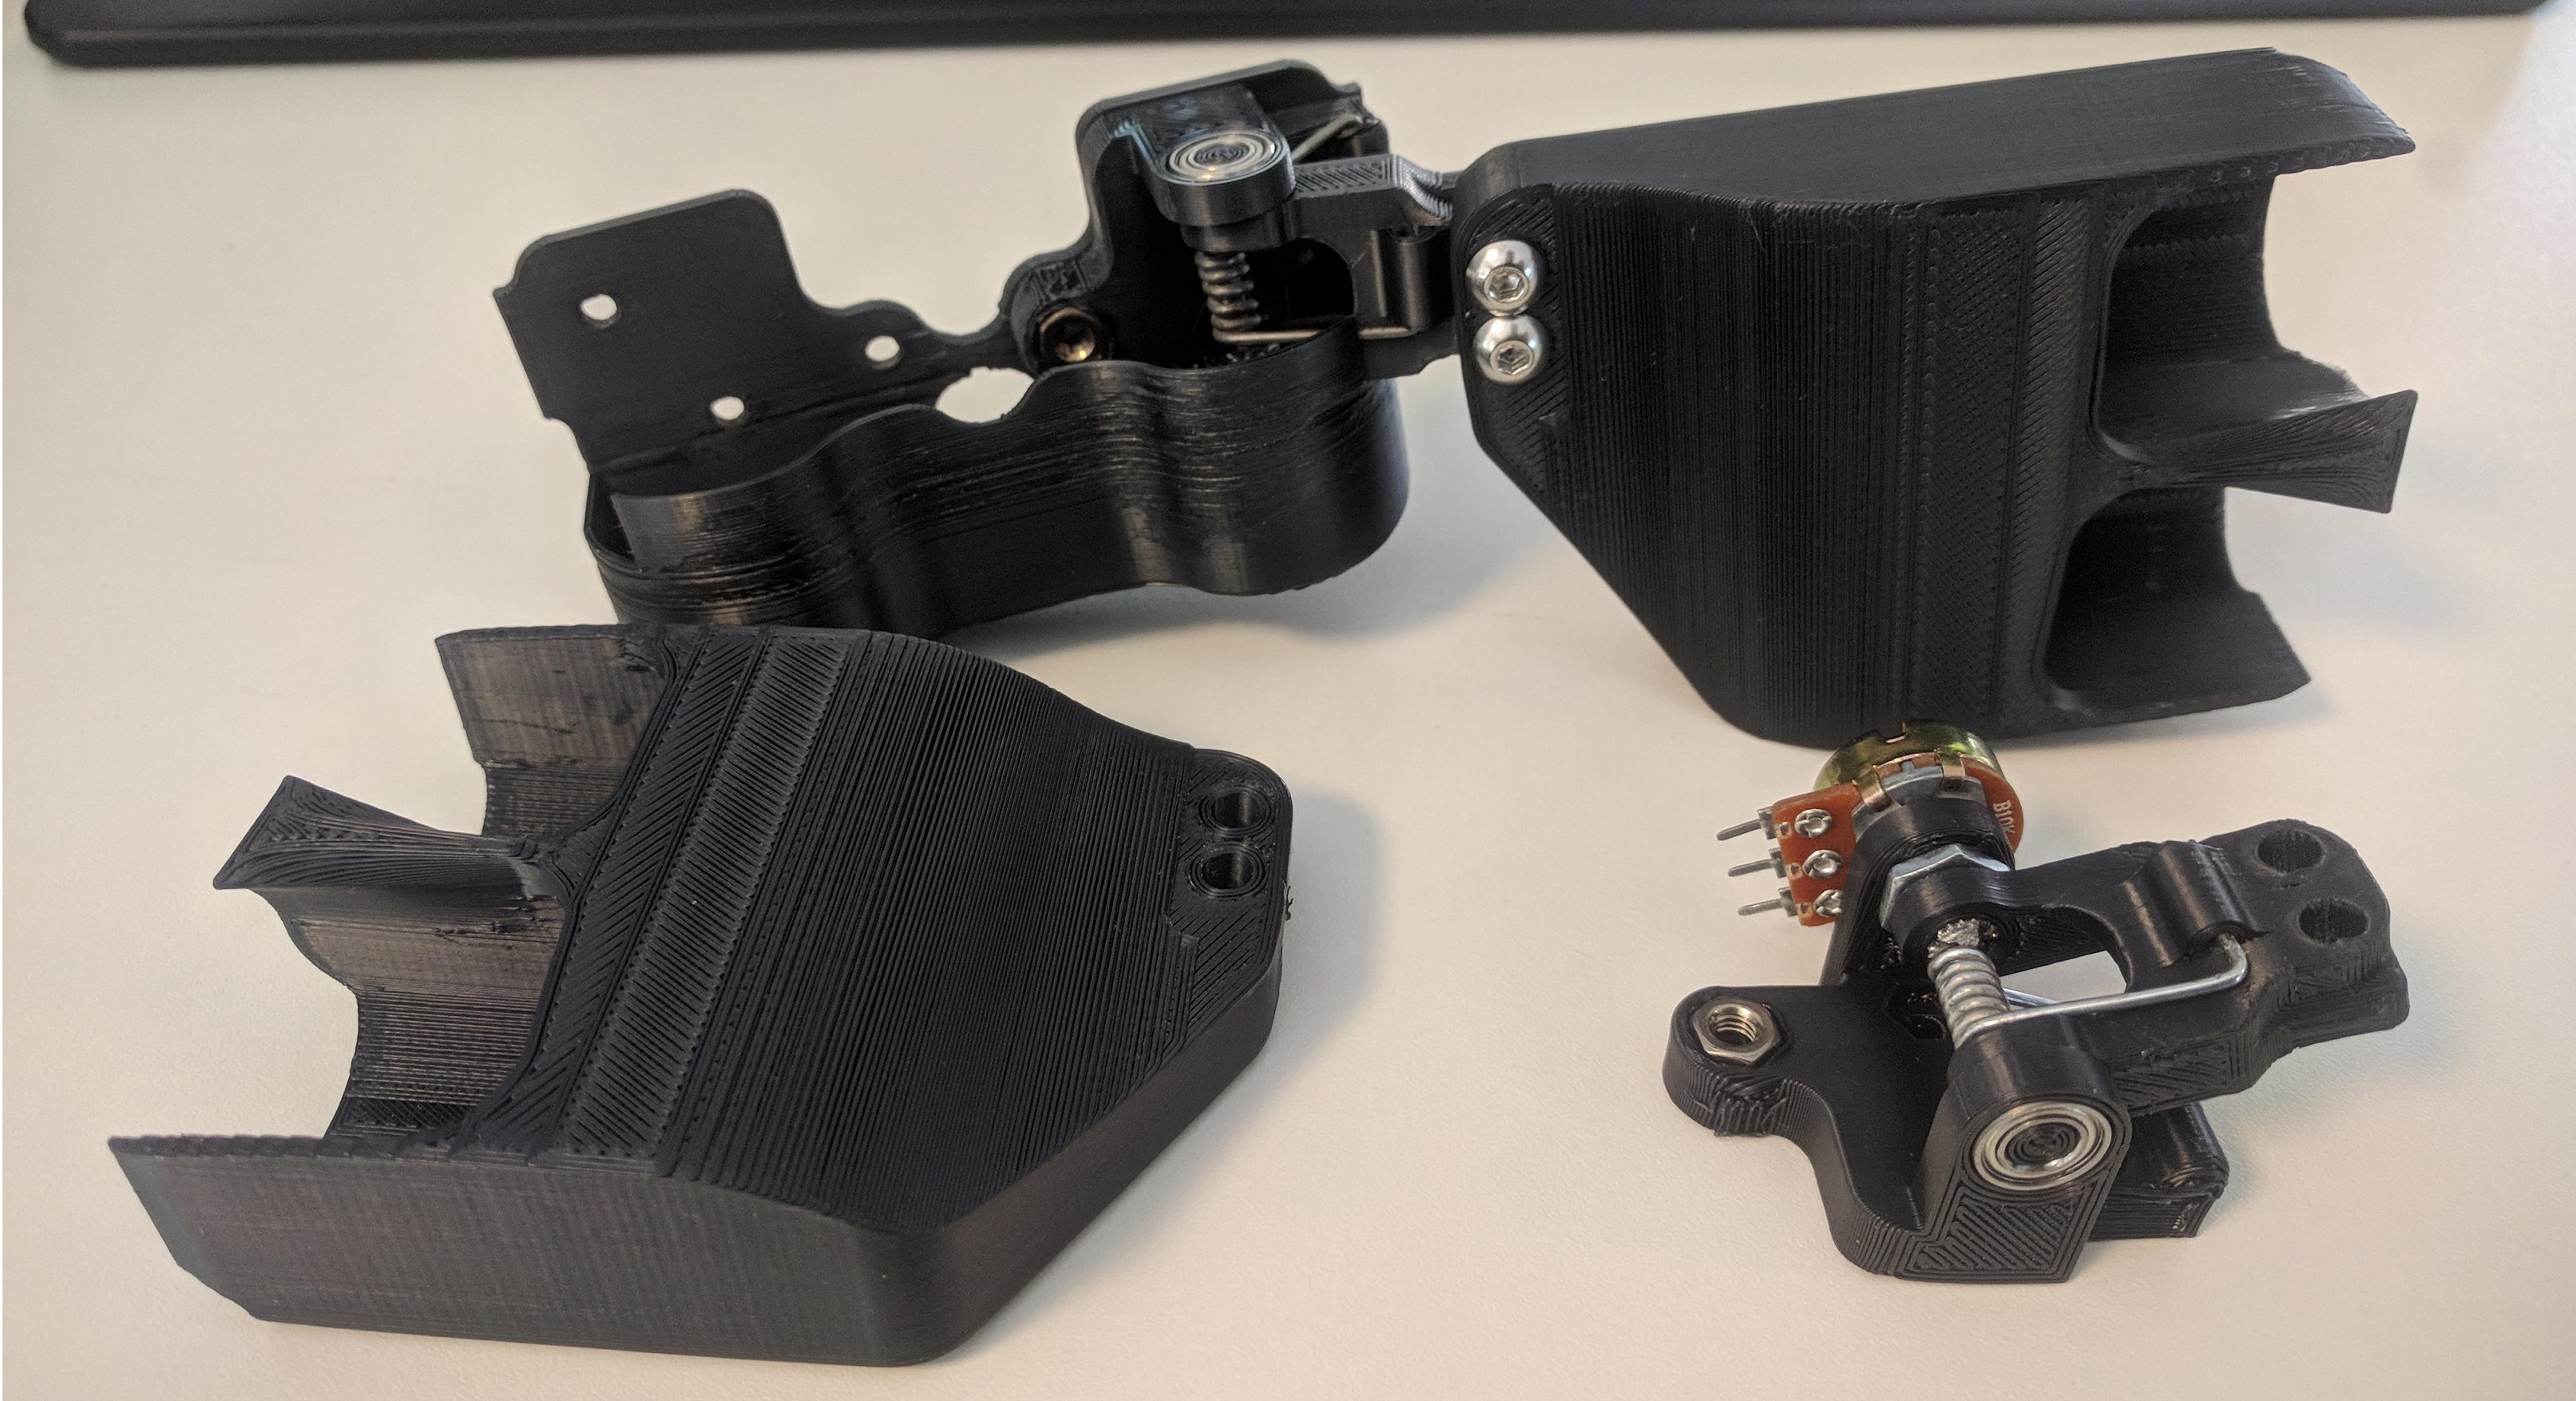
So, this was probably the hardest part, but also probably one of the easiest parts… It was hard because I didn’t quite understand how they’d spring out, or how the springs would fit, in reality it was pretty easy. It was also probably the bit of the project that I was most impressed with, as the designer has really thought this through.
How good does that look! I will only be focusing on one side of this, as in just one paddle as it’s the same for the other side.
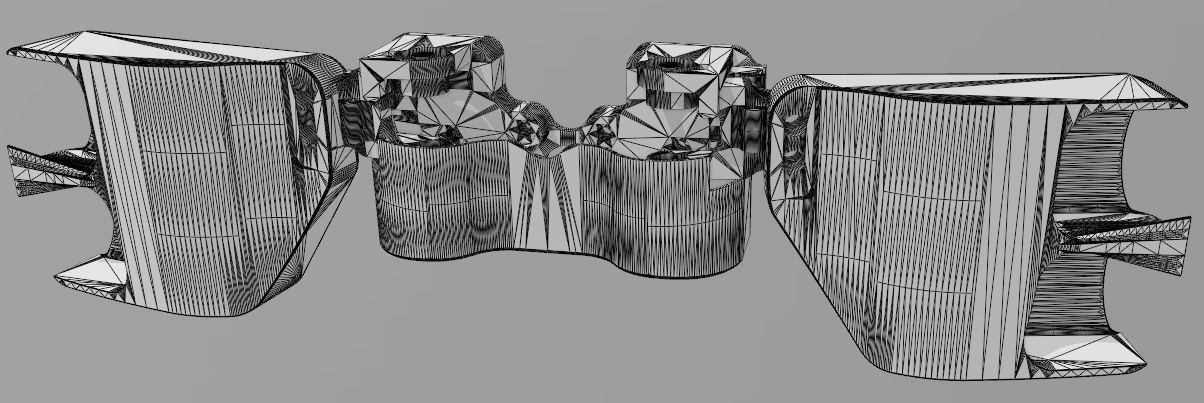
This is made of quite a few pieces, nothing too difficult to print and came out pretty well.
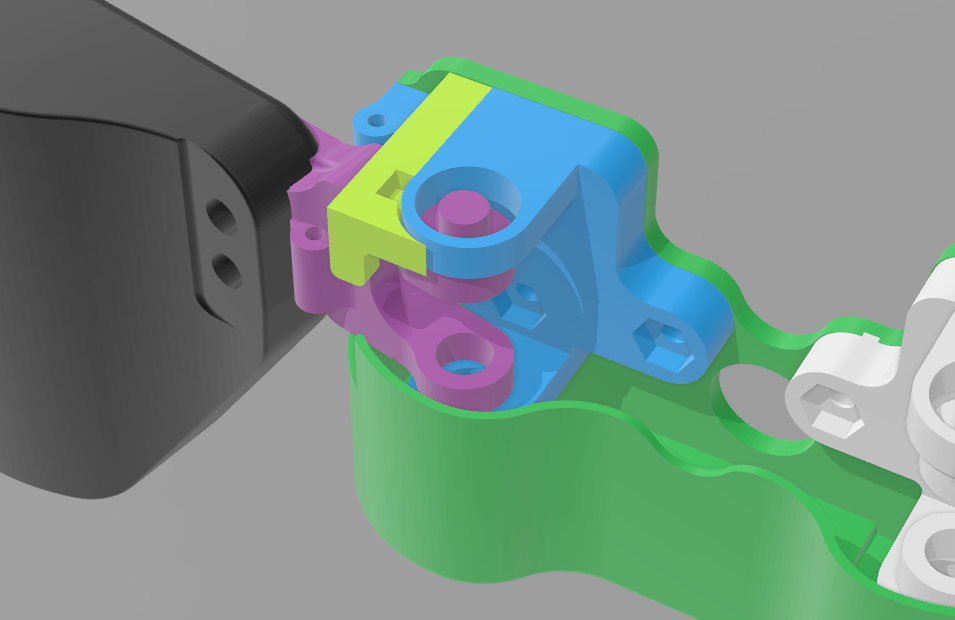
So let me explain, the purple piece connects to the paddle. The blue part connects to the body (green) and it’s linked together with a 10k pot, a bearing and a spring from a clothes peg! You can see on the purple piece there is a small round hole, this is where the clothes peg spring will plug into, with the coiled part being in the gap slightly to the right.
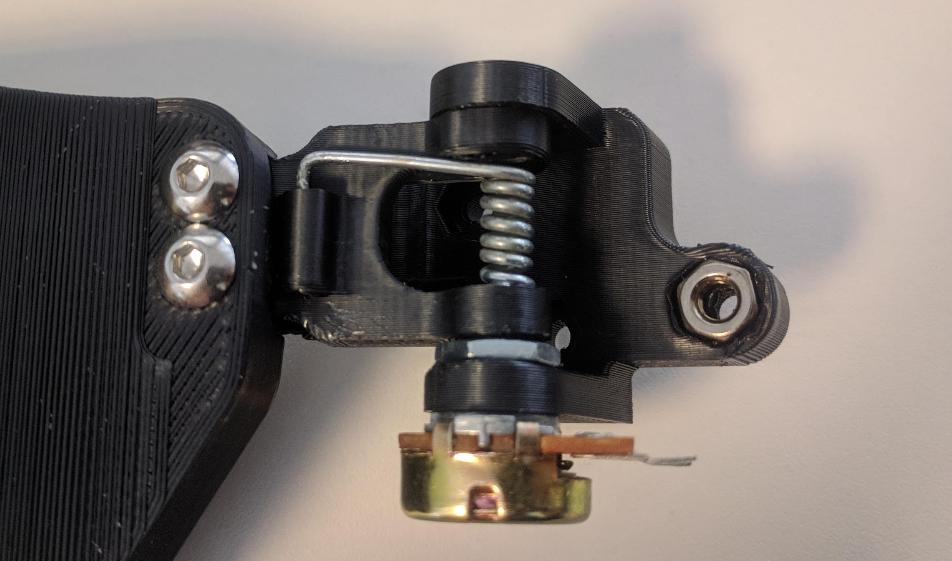
I needed to cut the 10K pot, I left 3mm over the threaded part, I used the nut that came with it and slotted it within the gap, so that it would latch and not want to spring the whole thing when being pressed/depressed.
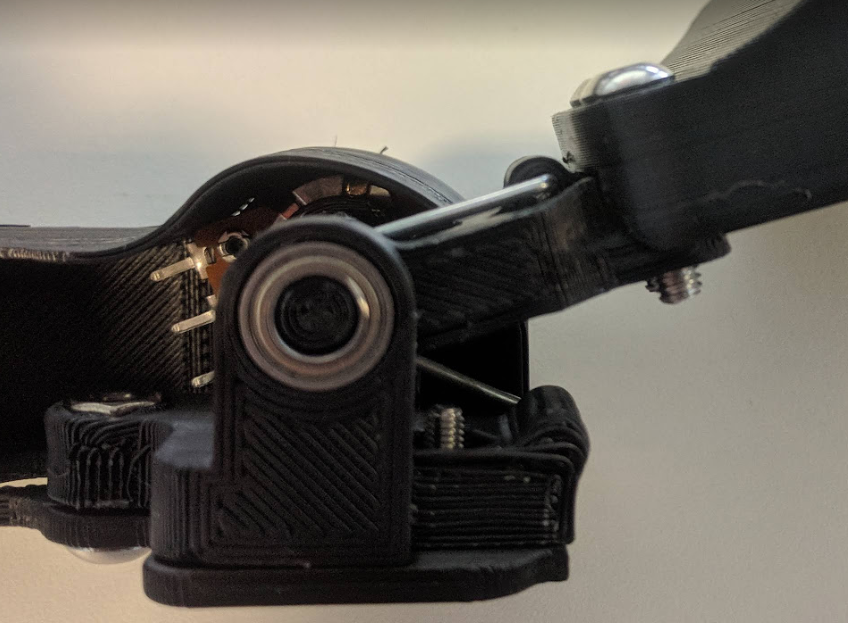
The top is held in with a stopper and a bearing, my images do not have the stopper attached yet which would prevent the paddles from over-extending and hitting the casing where the 10k pot is. The bearing holds it in place on the opposite end of the 10k pot, and allows free smooth movement. You can see that the spring is pretty much hidden as the coiled part is between the bearing and 10k pot.