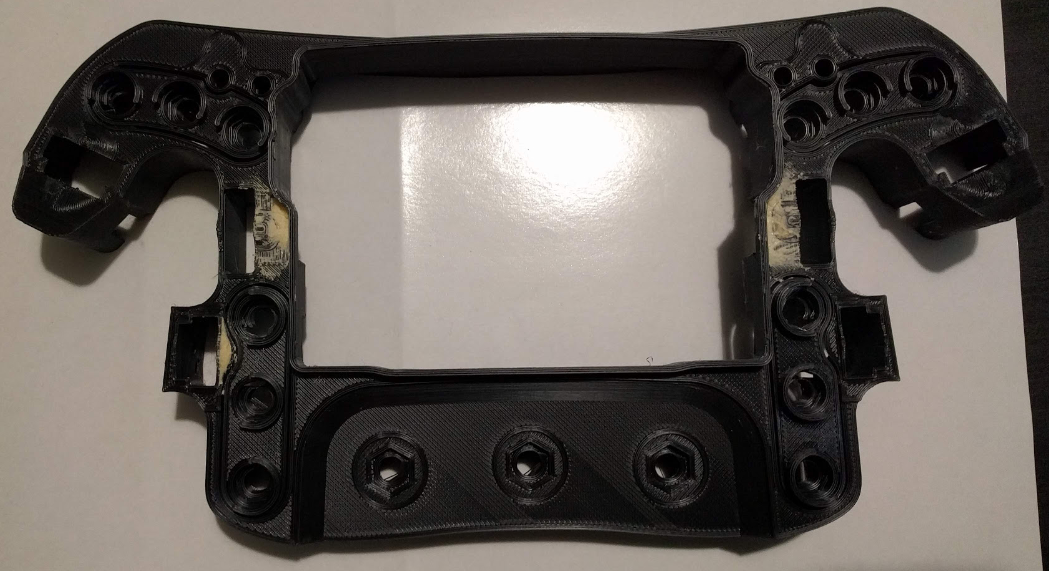
So, as you could see from the previous post the body seems to be the heart of it all. Everything connects to this body, which might seem normal, but the way everything has been thought through has been brilliant.
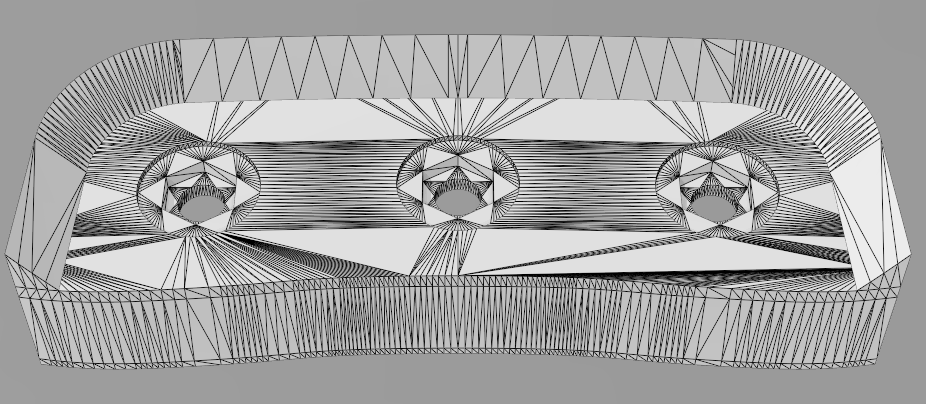
As I mentioned before, everything is pretty modular with the main body. The rotary holder above is actually 2 pieces. This rotary holder is bolted through those lower holes on the main body. The second part of this the edging around the top.
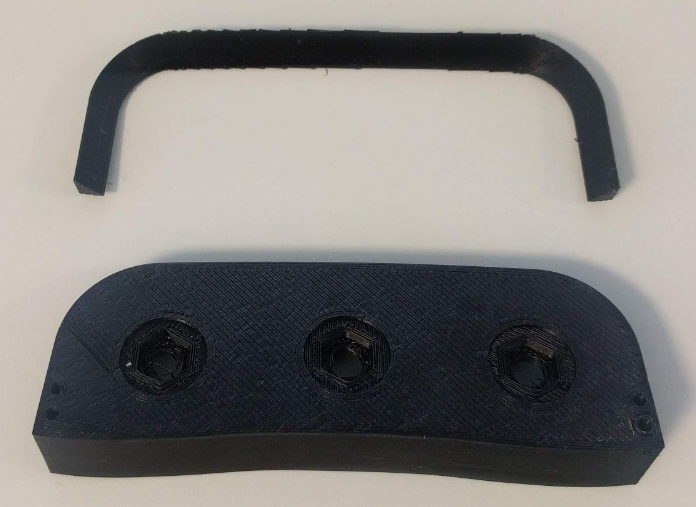
This connects to the main part by the two holes on either side, it has joiners on the underside to click into place. I added a bit of glue to secure it further.
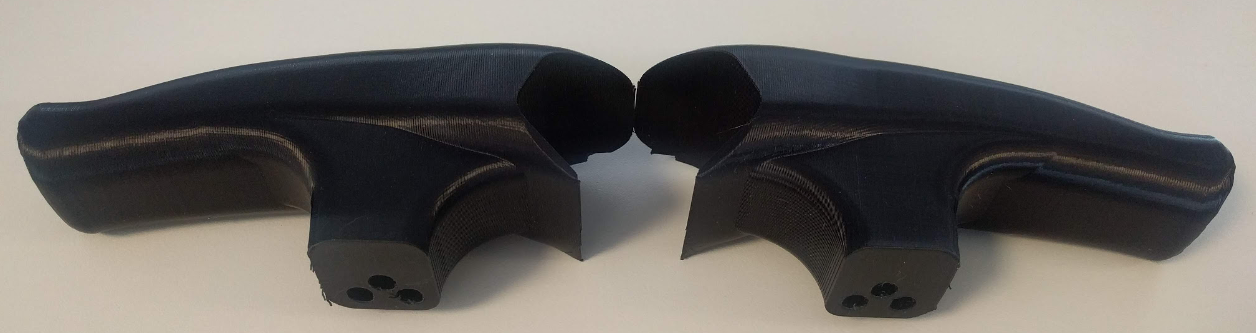
As you can see, the marks within the handles, these bolt onto the main body along with everything else 🙂
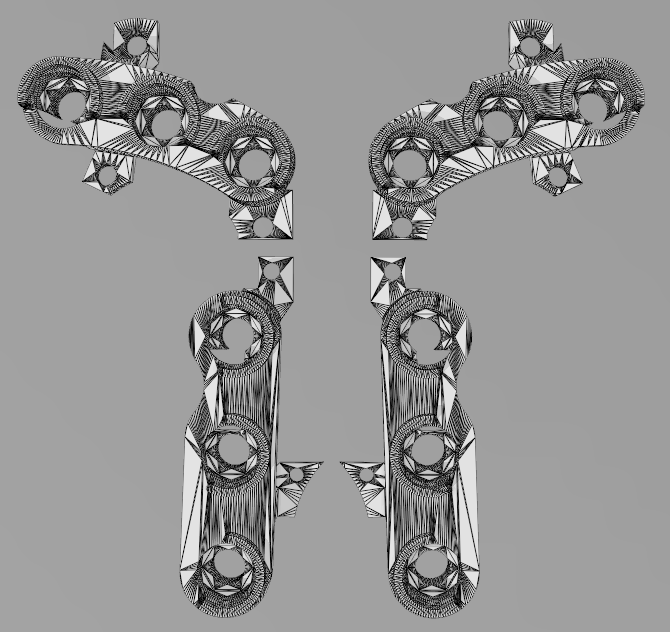
As you can see, each of the button holders are really just mirrored, but they have the screw holes to join to the main body.
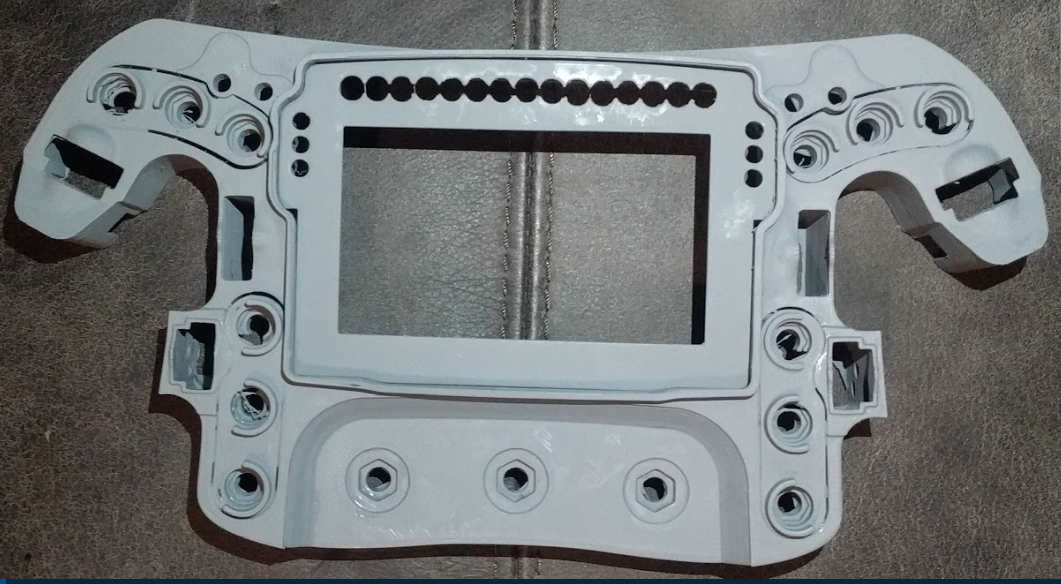
And here we have everything apart from the handles + LCD together. As you can see, the front panel gives it a much nicer finished look to the whole part. I’ve had to put some filler over little areas as I wasn’t happy with how my print was finished, and needed a bit of fixing… So rather than reprint, I put a bit of wood filler along and smoothed as best I could, I wasn’t too fussed on how rough it looked as I was going to sand/primer the whole thing anyway.
After round one of light sand/primer, it filled in a lot pretty quickly… Another round of sanding and primer, has given a much better finish.
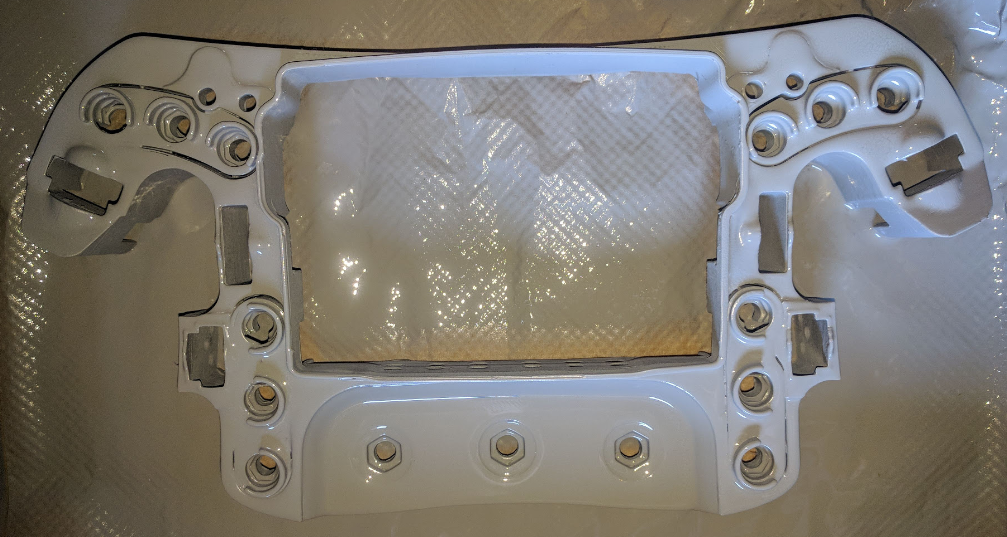
Another quick primer without sanding it looks pretty smooth, but after drying will need sanding and primer again.
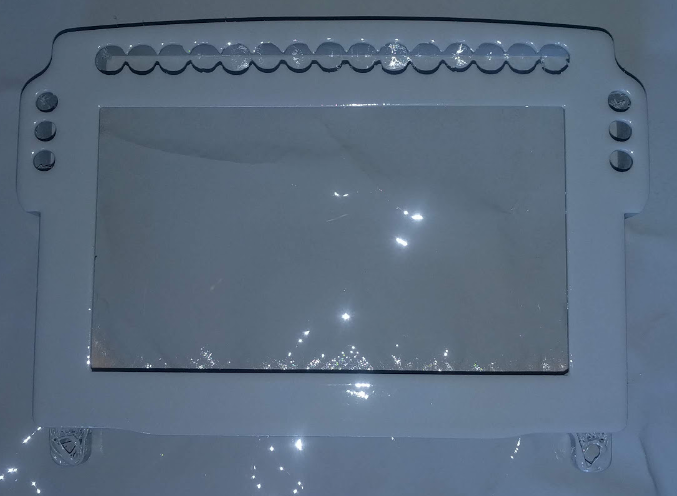
The LCD cover seems to be all good as is if I’m honest. Just needs to be sprayed black a few times.
The next few parts were a bit more complicated, I will update these as separate posts.